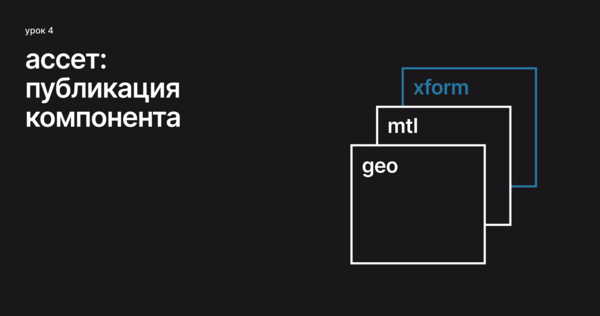
In Lesson 4, one coral scene was recorded with three layers. We have covered Geo and Xform, and now it’s time for MTL. This involves only the coral material and its assignment to the geometry. Therefore, we are releasing a new version of the lookdev, without touching the geometry; in Shot, it will replace one line.
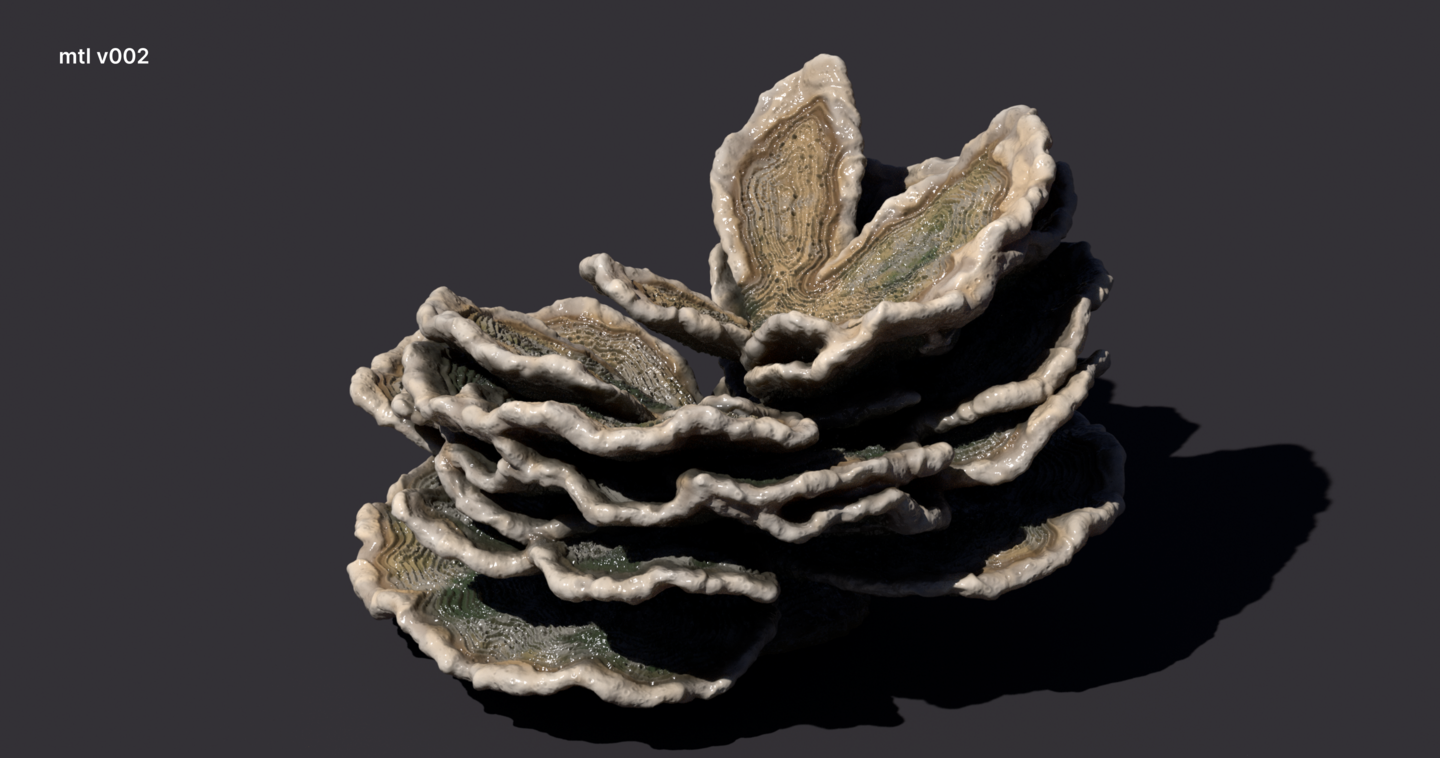
The material resides in its own layer above the geometry. The new lookdev only needs folder v002 and one SubLayer line.
1. How the lookdev layer is structured
The mtl layer does not rebuild anything. The coral and its branches are recorded in it using 'over, ' like a modification of another primitive. It only adds the mtl branch with the material and the connection to it via geo—there is no geometry.
The connection to the material in USD is called material: binding; this is the path to the material recorded on the branch. Meshes within inherit the material from the branch if they do not have their own binding.
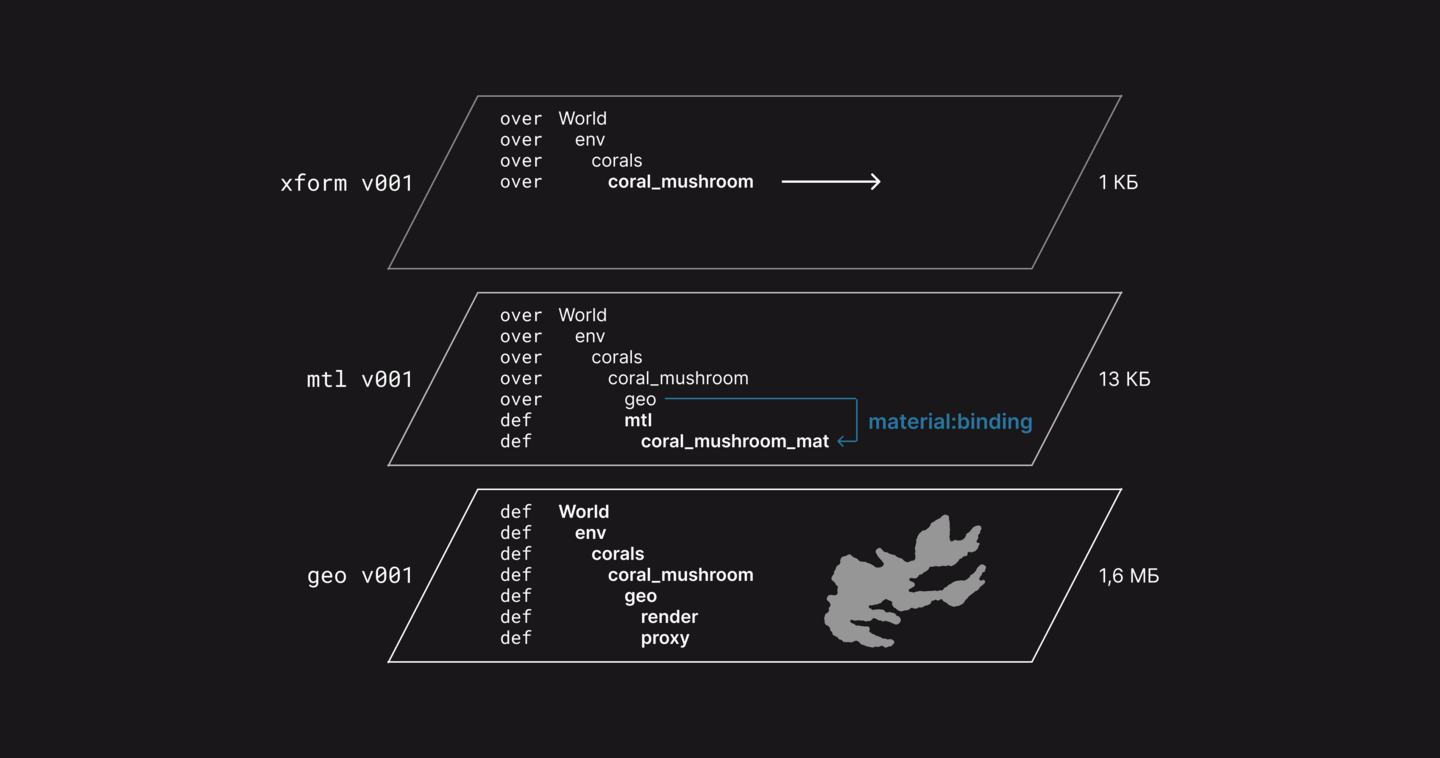
In the check and shot, the coral is assembled using three SubLayer lines: geo is at the bottom, mtl is above it, and xform is on top. This is the standard layer stack from Lesson 1. There is no debate about the files—everyone writes their own. Therefore, the mtl line can be replaced, while the geometry and location of the coral remain the same.
2. Node Setup
This is the same coral scene from Lesson 4; the piece of netting is immediately after geo. The Layer Break cuts off everything above it, and the geometry won’t be included in the mtl. Next is the material assignment and USD ROP—it writes the mtl the same way as geo in Lesson 4. We will break down the nodes according to the numbers in the image.
The Material Library places the material in the mtl branch.
1. In Parent Primitive Type, set Scope, just like with geo.
2. In Material Path, enter the full path including the material name: <corall> _mat. In this case, the Material Path Prefix has no effect.
The material’s definition in USD is called a Material; the connection points to it. Inside the Material are Shaders, which contain the network nodes.
Inside the Material Library is the Karma Material Builder, a node network using MtlX nodes, without textures.
1. Three MtlX Geometry Property Value nodes read the coral attributes.
2. The MtlX Standard Surface shader itself collects the color and roughness.
The geometry attribute that the render and shader see is called primvar. SOP Import recorded the coral attributes as primvar.
MtlX Geometry Property Value reads the primvar margin, which is the distance to the plate’s edge. The material uses this value to draw a white border and growth rings.
1. In Geomprop, we write margin, using the attribute name as it is in the SOP.
2. The default value is used if the attribute is missing. In that case, the border will disappear, and the rings will stop following the edge.
Therefore, Attribute Delete in the SOP leaves everything that the material reads.
Assign Material records the link to the material.
1. In Primitives, we write /World/env/corals//geo, the branch with render and proxy.
2. In Material Path, we write the material path from the Material Library.
In the file, this is set as 'over' on the geo branch with a single line: material: binding. The link is on the geo, so both meshes receive the material.
The mtl layer contains no meshes. In an empty scene, it renders nothing, and if coral is visible, the geometry has shifted to the layer.
3. New single-line version
We will make Luckdev v002 in the same scene, but save it as <coral> _v002.hip. We are only changing the material and writing only the mtl to a new folder mtl/v002. The v001 folder remains in place—no one is overwriting it. The Geo and xform also remain v001.
In MtlX Standard Surface, we open the Coat section. This is a transparent glossy film over the material, like varnish or water.
1. Raise the Coat, and the coral appears wet.
2. Set Roughness in the same section slightly higher, and the highlight becomes softer.
The USD ROP layer for mtl is writing a new version.
1. The Output File is now $JOB/assets/Environment/Corals//publish/usd/mtl/v002/_mtl.usd; only the version folder has changed.
2. We should only press Save to Disk on this USD ROP. Do not run the geo and xform USD ROP layers in the v002 scene, otherwise, you will overwrite the published v001.
We are confirming v002 on a single line where the coral is assembled. In the check, this is a SubLayer with an mtl layer; in the shot, the line is the same if the coral is arranged in three lines.
1. In File, change v001 to v002; do not alter anything else in the path.