In Lesson 3, we assembled the scene’s skeleton; now we are creating the first asset for it: the coral. One working scene saves it across three files, and at the end, we will rebuild it from scratch to ensure the coral is in place.
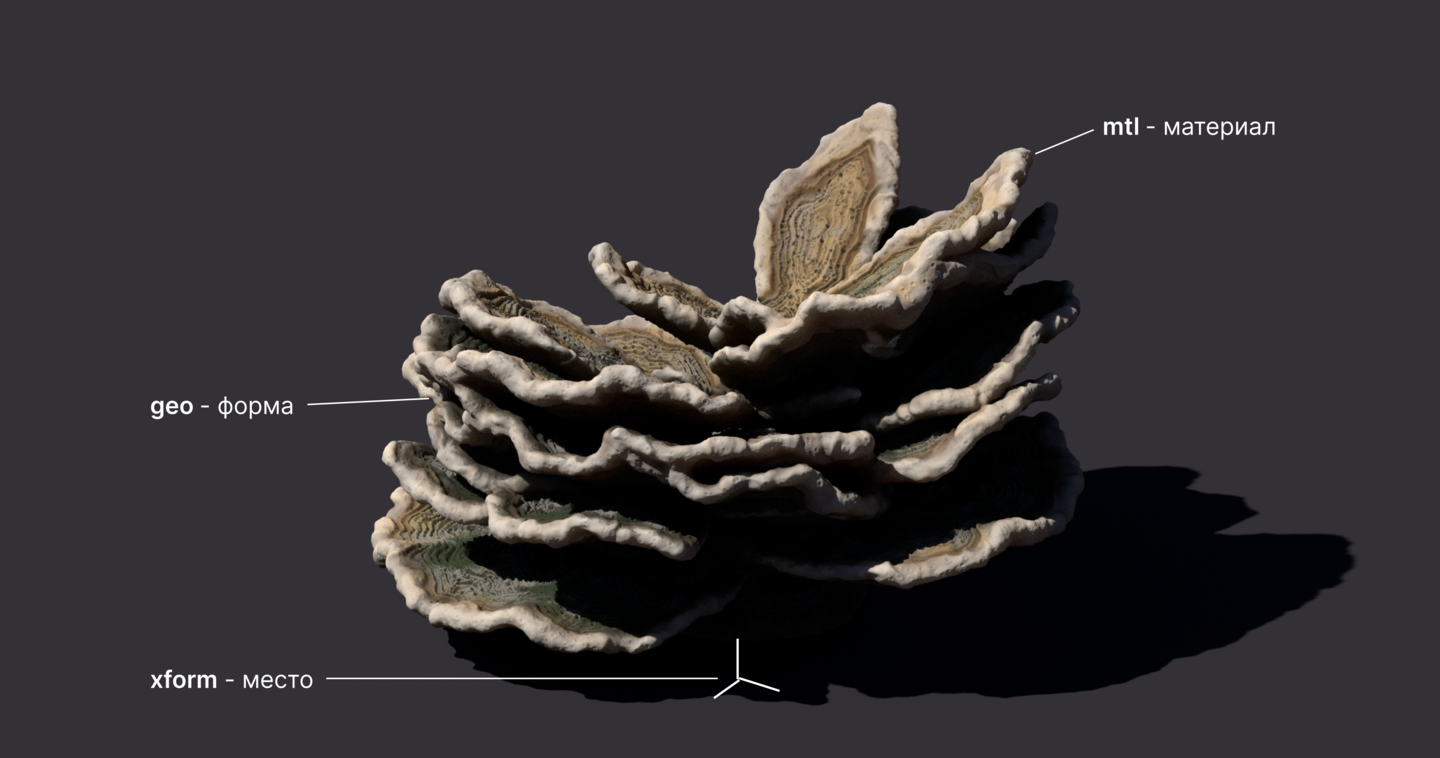
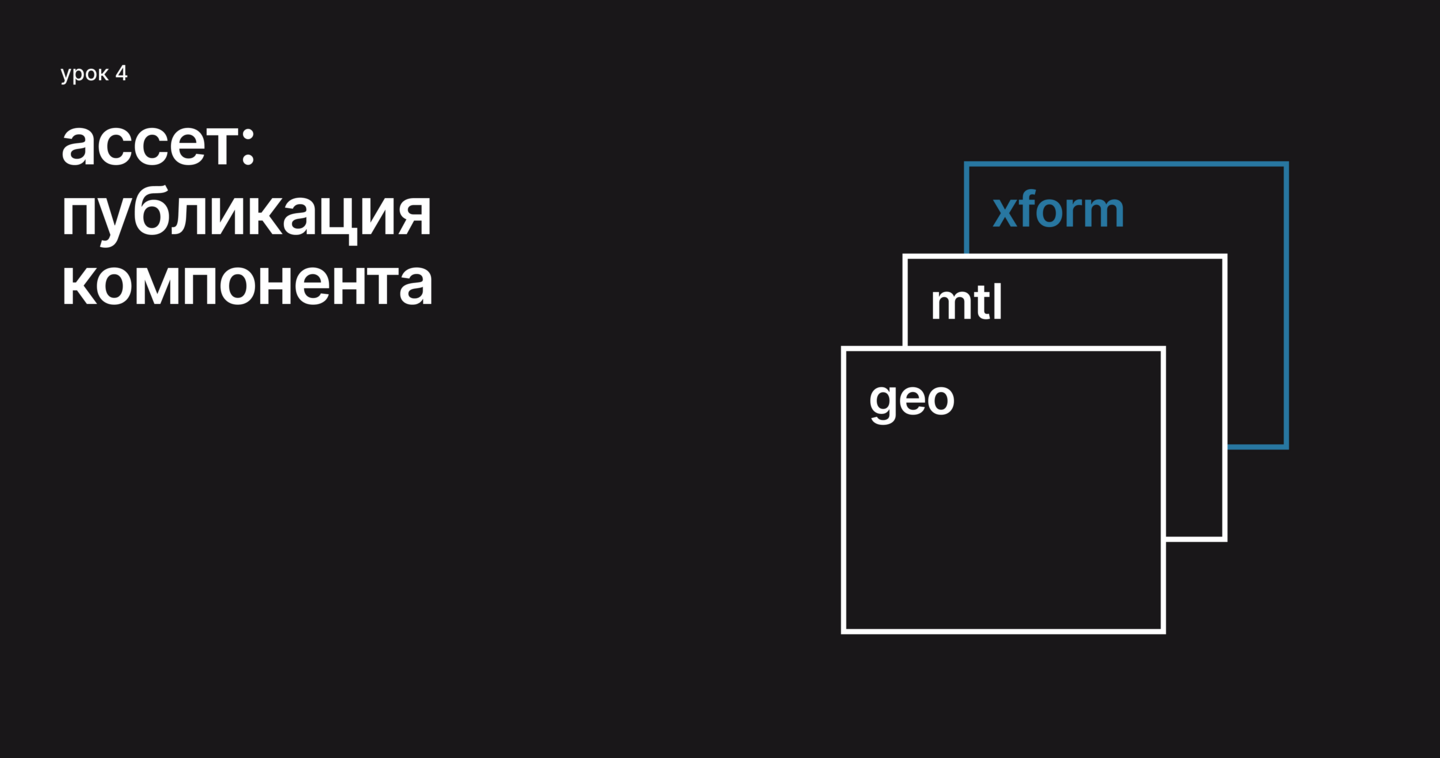
The asset is composed of three files for one scene. Any one of them can be replaced with a new version, while the other two remain unchanged.
1. How the Asset Works
The geo file contains the coral geometry, the mtl file holds the material and its assignment within the geo, and the xform file dictates the coral’s placement. A new material is lightweight—it only weighs kilobytes—and will not overwrite the heavy geometry. However, in the Rift lesson 6, every copy has its own unique position, so we will only import the geo and mtl.
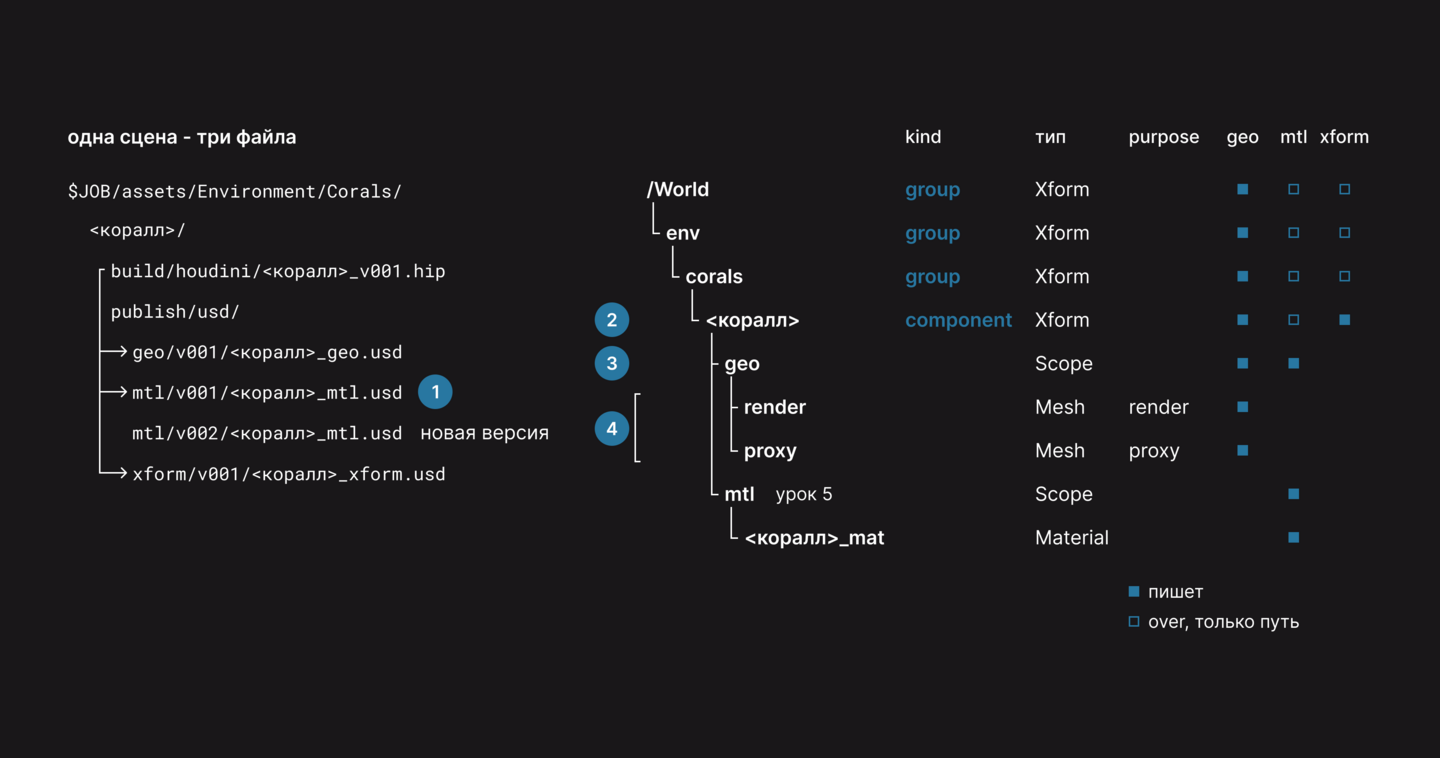
We write the asset root directly using its path in the scene. Then, SubLayer places the coral in the correct location in any scene utilizing this skeleton.
1. The new version saves to a new folder; we leave the old one untouched.
2. We create an Xform with a kind component as the root; this is what moves the entire coral.
3. We make the geo branch a Scope—this is the folder for the meshes.
4. The render and proxy meshes are designated with a purpose, one for rendering and one for the viewport.
2. Node Setup
The entire network is set in the /stage workspace. From the top, the coral comes from SOP and aggregates into the asset tree. Three USD ROPs write to the file: the first is geo, the second is across the Layer Break mtl, and the third is for the next xform. Below, a separate branch holds the validation. The numbers indicate the order in which we are processing the nodes below.
From the coral output in SOP, two branches emerge: render and proxy. Merge combines them into Null.
1. The first Name writes the usdpurpose attribute with the value «render»; SOP Import will use this as the purpose.
2. The second Name writes the name attribute with the value «geo/render,» which is the prim path.
3. PolyReduce retains a few percent of the polygons for the proxy.
4. The third Name writes the usdpurpose attribute with the value «proxy.»
5. The fourth Name writes the name attribute with the value «geo/proxy.»
SOP Import grabs this Null in Solaris.
1. In the SOP Path, specify the path to the output Null.
2. In the Sublayer Style, select «Copy SOP Layer Into New Active Layer, ” which allows nodes below to edit the geometry; this setting is best left as the default.
3. Check the Import Path Prefix box and enter /, and the paths will be pulled from the name.
4. Uncheck the Layer Save Path box, otherwise, the layer might be saved in a file next to the hip file.
The asset root creates a Primitive, and Graft Stages implants a branch from the SOP Import underneath it. 1. In Primitive Paths, type /World/env/corals/. 2. In Primitive Kind, set Component, and Primitive Type remains Xform. 3. In Primitive Path, Graft Stages uses the same root path. 4. In Destination Path Default, type /, otherwise the geo will be placed in an extra sopimport1 primitive.
The second Primitive makes the geo folder, and Configure Primitive removes the geo kind that was set by SOP Import. This second node secures the render and proxy.
1. In Primitive Paths, specify the path to the geo; in Primitive Type, select Scope.
2. In Primitives, enter /World/env/corals//*; check the box for Kind and select None.
3. Do the same for geo/render and geo/proxy on the second node.
Within the asset, kind is present only on the root. The branches and meshes beneath it remain without kind.
A mesh requires this setting when you want the mesh to appear smooth in the render.
1. In the Action menu, set to Edit, and in Primitives, set the mesh path to render.
2. In the Subdivision Scheme menu on the left, select Set or Create and Catmull Clark.
3. In Transform, set it to Do Nothing, otherwise, unnecessary transforms will appear on the mesh.
The mesh attribute, subdivisionScheme, tells the renderer whether or not to smooth the mesh. SOP Import sets it to none, meaning no smoothing.
The first USD ROP writes geo.
1. In the Output File, we write $JOB/assets/Environment/Corals//publish/usd/geo/v001/_geo.usd.
2. In the Default Primitive, we write /World, just like the skeleton in Lesson 3.
We leave Save Style as is; by default, everything compiled in memory will be written to this single file.
Always place a Layer Break before the material. Without it, the mtl file will rewrite all the geometry again.
Between the two boundaries—Layer Break, Material Library, and Assign Material nodes—there is a material node, and the second, USD ROP, writes mtl. We’ll break down what each one does in Lesson 5.
The coral’s location is set by Transform, and the third USD ROP writes it to the xform.
1. In Primitives, we write the asset root: /World/env/corals/.
2. In Translate and Rotate, we specify where the coral is located and how it is oriented.
3. In the Output File, we use the same path as the geo, but with xform. The Default Primitive is also /World.
3. Review