ABOUT THE PROGRAM
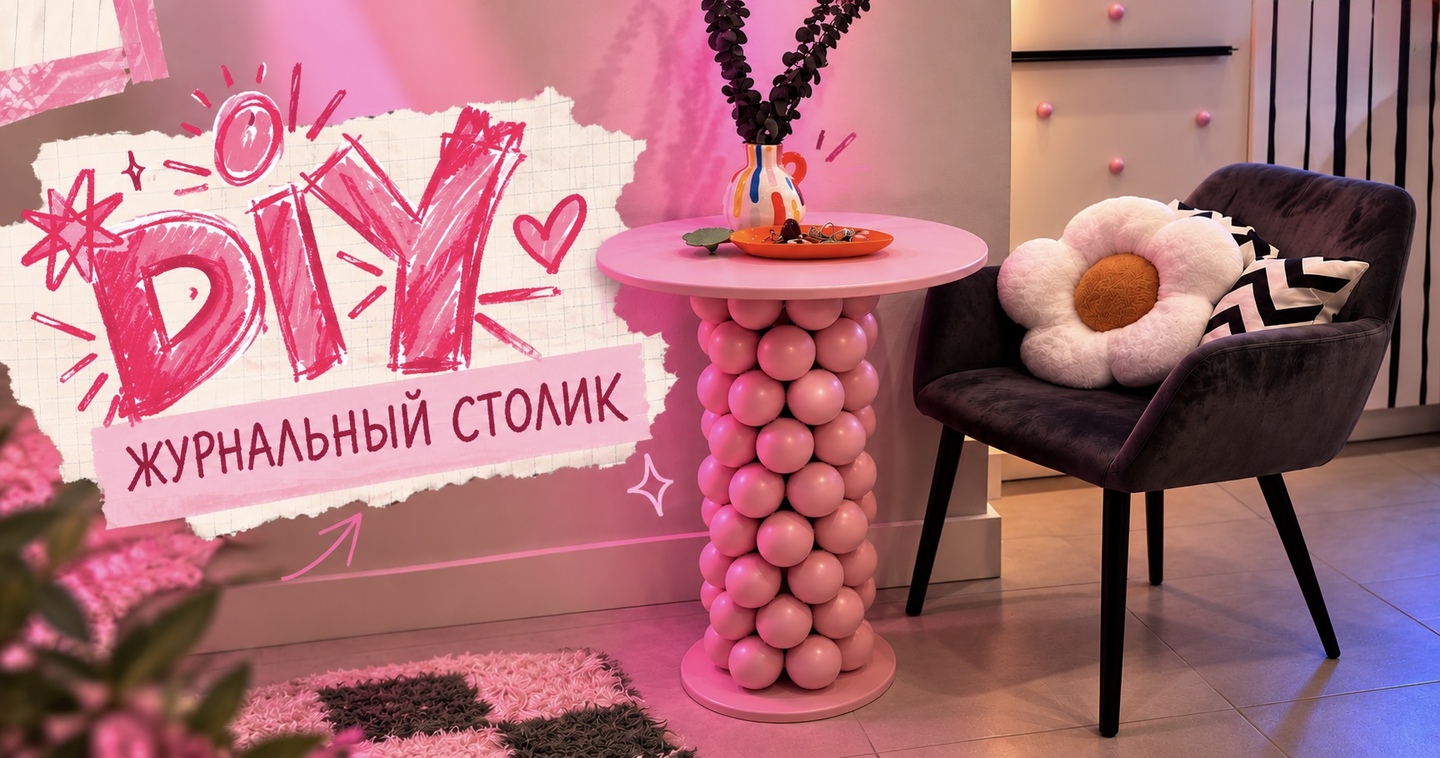
Welcome to the practical workshop on creating a coffee table!
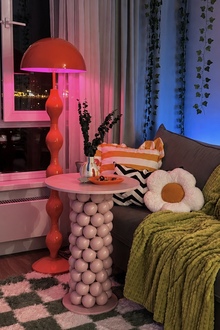
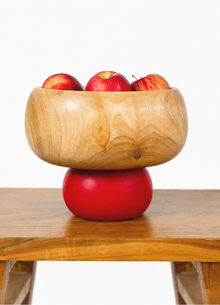
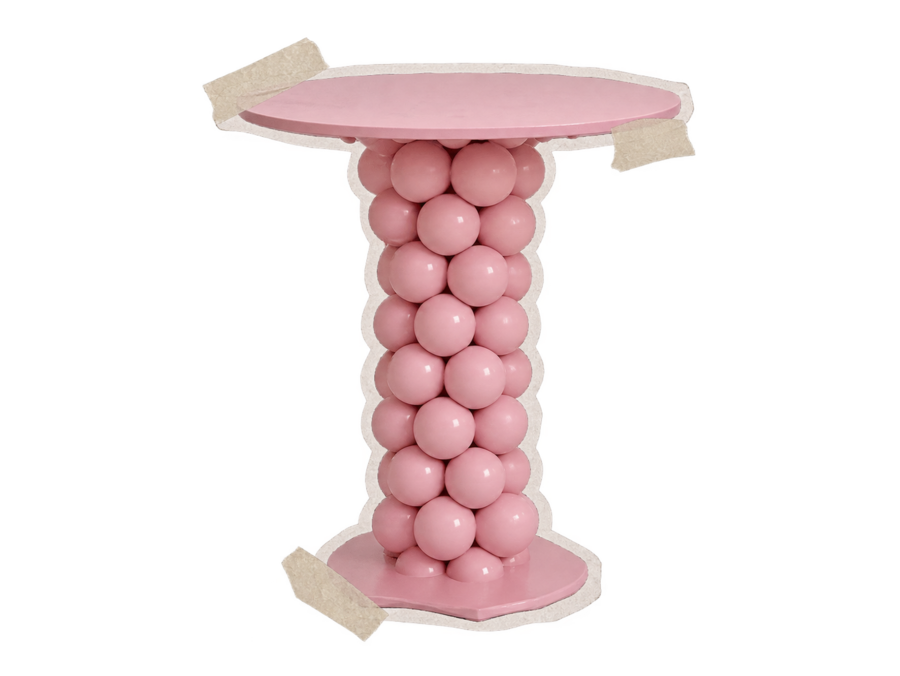
Together, we will craft a unique interior piece featuring a round tabletop and a decorative base made of voluminous balls.
No special education or professional workshop is required to participate. Every step is described in detail and accompanied by photos of the manufacturing process.
The course consists of seven sequential lessons. After each lesson, you will receive a practical assignment and a brief checklist to verify your result.
The learning outcome is a custom coffee table, made entirely by your own hands!
MATERIAL AND TOOL PREPARATION
Lesson Objective
Explore the design of the future side table, and prepare the necessary materials, tools, and workspace.
STEP 1. Introduction to the Structure
Our table consists of three main structural elements:— A circular tabletop with a diameter of 500 mm.— A circular base with a diameter of 300 mm.— A central support made of a cardboard sleeve with a diameter of 84 mm.The height of the table can be chosen independently.In this project, we used a sleeve with a height of 650 mm.For decorative accents, we will use plastic balls that will completely cover the central support.Finally, the table will be painted a soft pink and coated with a matte furniture varnish.
STEP 2. Material Preparation
To construct the side table, you will need:
Cardboard tube — 1 pc. Diameter — 84 mm. Height is selected individually. In this project, a tube measuring 780 mm was used and shortened to 650 mm.
Round art boards — 2 pcs. Diameter of the first — 500 mm, of the second — 300 mm. The large art board will serve as the tabletop, and the small one as the base.
Plastic balls for a dry ball pit. Diameter — 70 mm. The quantity depends on the chosen height of the table and the density of the placement.
Construction adhesive («liquid nails»). Used to join structural parts and secure the decorative balls. The glue must be compatible with the materials to be joined.
Furniture primer. ATURI Design is used in this project.
Furniture paint. Balisteri, shade Baby Pink 16, 750 g package.
Matte furniture varnish. ATURI Design.
STEP 3. Preparing Tools
We will need:a tape measure or ruler; a pencil; a compass; an electric jigsaw; an X-Acto knife; a 50 mm painter’s brush; a small brush for hard-to-reach areas; newspapers or protective film. Additionally, a foam roller can be used.For priming, painting, and varnishing, I used one large brush, rinsing it thoroughly after each use.
STEP 4. Organizing Your Workspace
Before beginning production, you need to prepare a workspace. I prefer working on the floor, so first, I spread out newspapers to protect the flooring from glue and paint. You can choose any comfortable workspace. The main things are to ensure enough open space, good lighting, and ventilation. Prepare a drying area for the piece between stages of work. When using cutting tools, observe safety precautions. Components must be held firmly in place, and protective eyewear must be worn when operating a band saw.
PROJECT BRIEF
Prepare the necessary materials and tools.Determine the height of your future side table and organize your workspace.
CHECKLIST
☐ All materials acquired.☐ Tools prepared.☐ Table height determined.☐ Work surface protected.☐ Drying area prepared.Lesson outcome: everything is ready. You may begin fabrication!
LESSON 2. PART PREPARATION AND ASSEMBLY OF THE STRUCTURE
Lesson Objective
Learn how to mark circular parts, prepare the central support, and connect structural elements.
STEP 1. Adjusting the Height of the Cardboard Sleeve
First, determine the required height of the central support. In my case, it is 650 mm. Initially, the length of the purchased bushing was 780 mm, so it needed to be shortened. To do this: Measure the required length with a tape measure. Mark the cut line around the bushing with a pencil. Secure the part firmly. Carefully remove the excess material using a jigsaw. Check the evenness of the resulting cut. If the purchased bushing already meets the required height, this step can be skipped. Tip: It is important that both ends of the bushing are straight. This will ensure a tighter fit against the base and tabletop.
STEP 2. Finding the Circumcenter
Next, you need to determine the center of each art board to correctly position the central support. This can be done using a geometric method. How to find the center of a circle: On the circular art board, select two arbitrary points on the circumference and connect them with a straight line. This creates a chord. Mark the midpoint of the resulting segment. Draw a line perpendicular to the chord through its midpoint. Repeat the process with another chord oriented at a different angle. The intersection point of the two perpendicular lines will be the center of the circle. You can use a set square or a compass and ruler to construct the perpendicular. Repeat the procedure for both art boards.